Bob Nolte KD7YOX
First, I create the card background
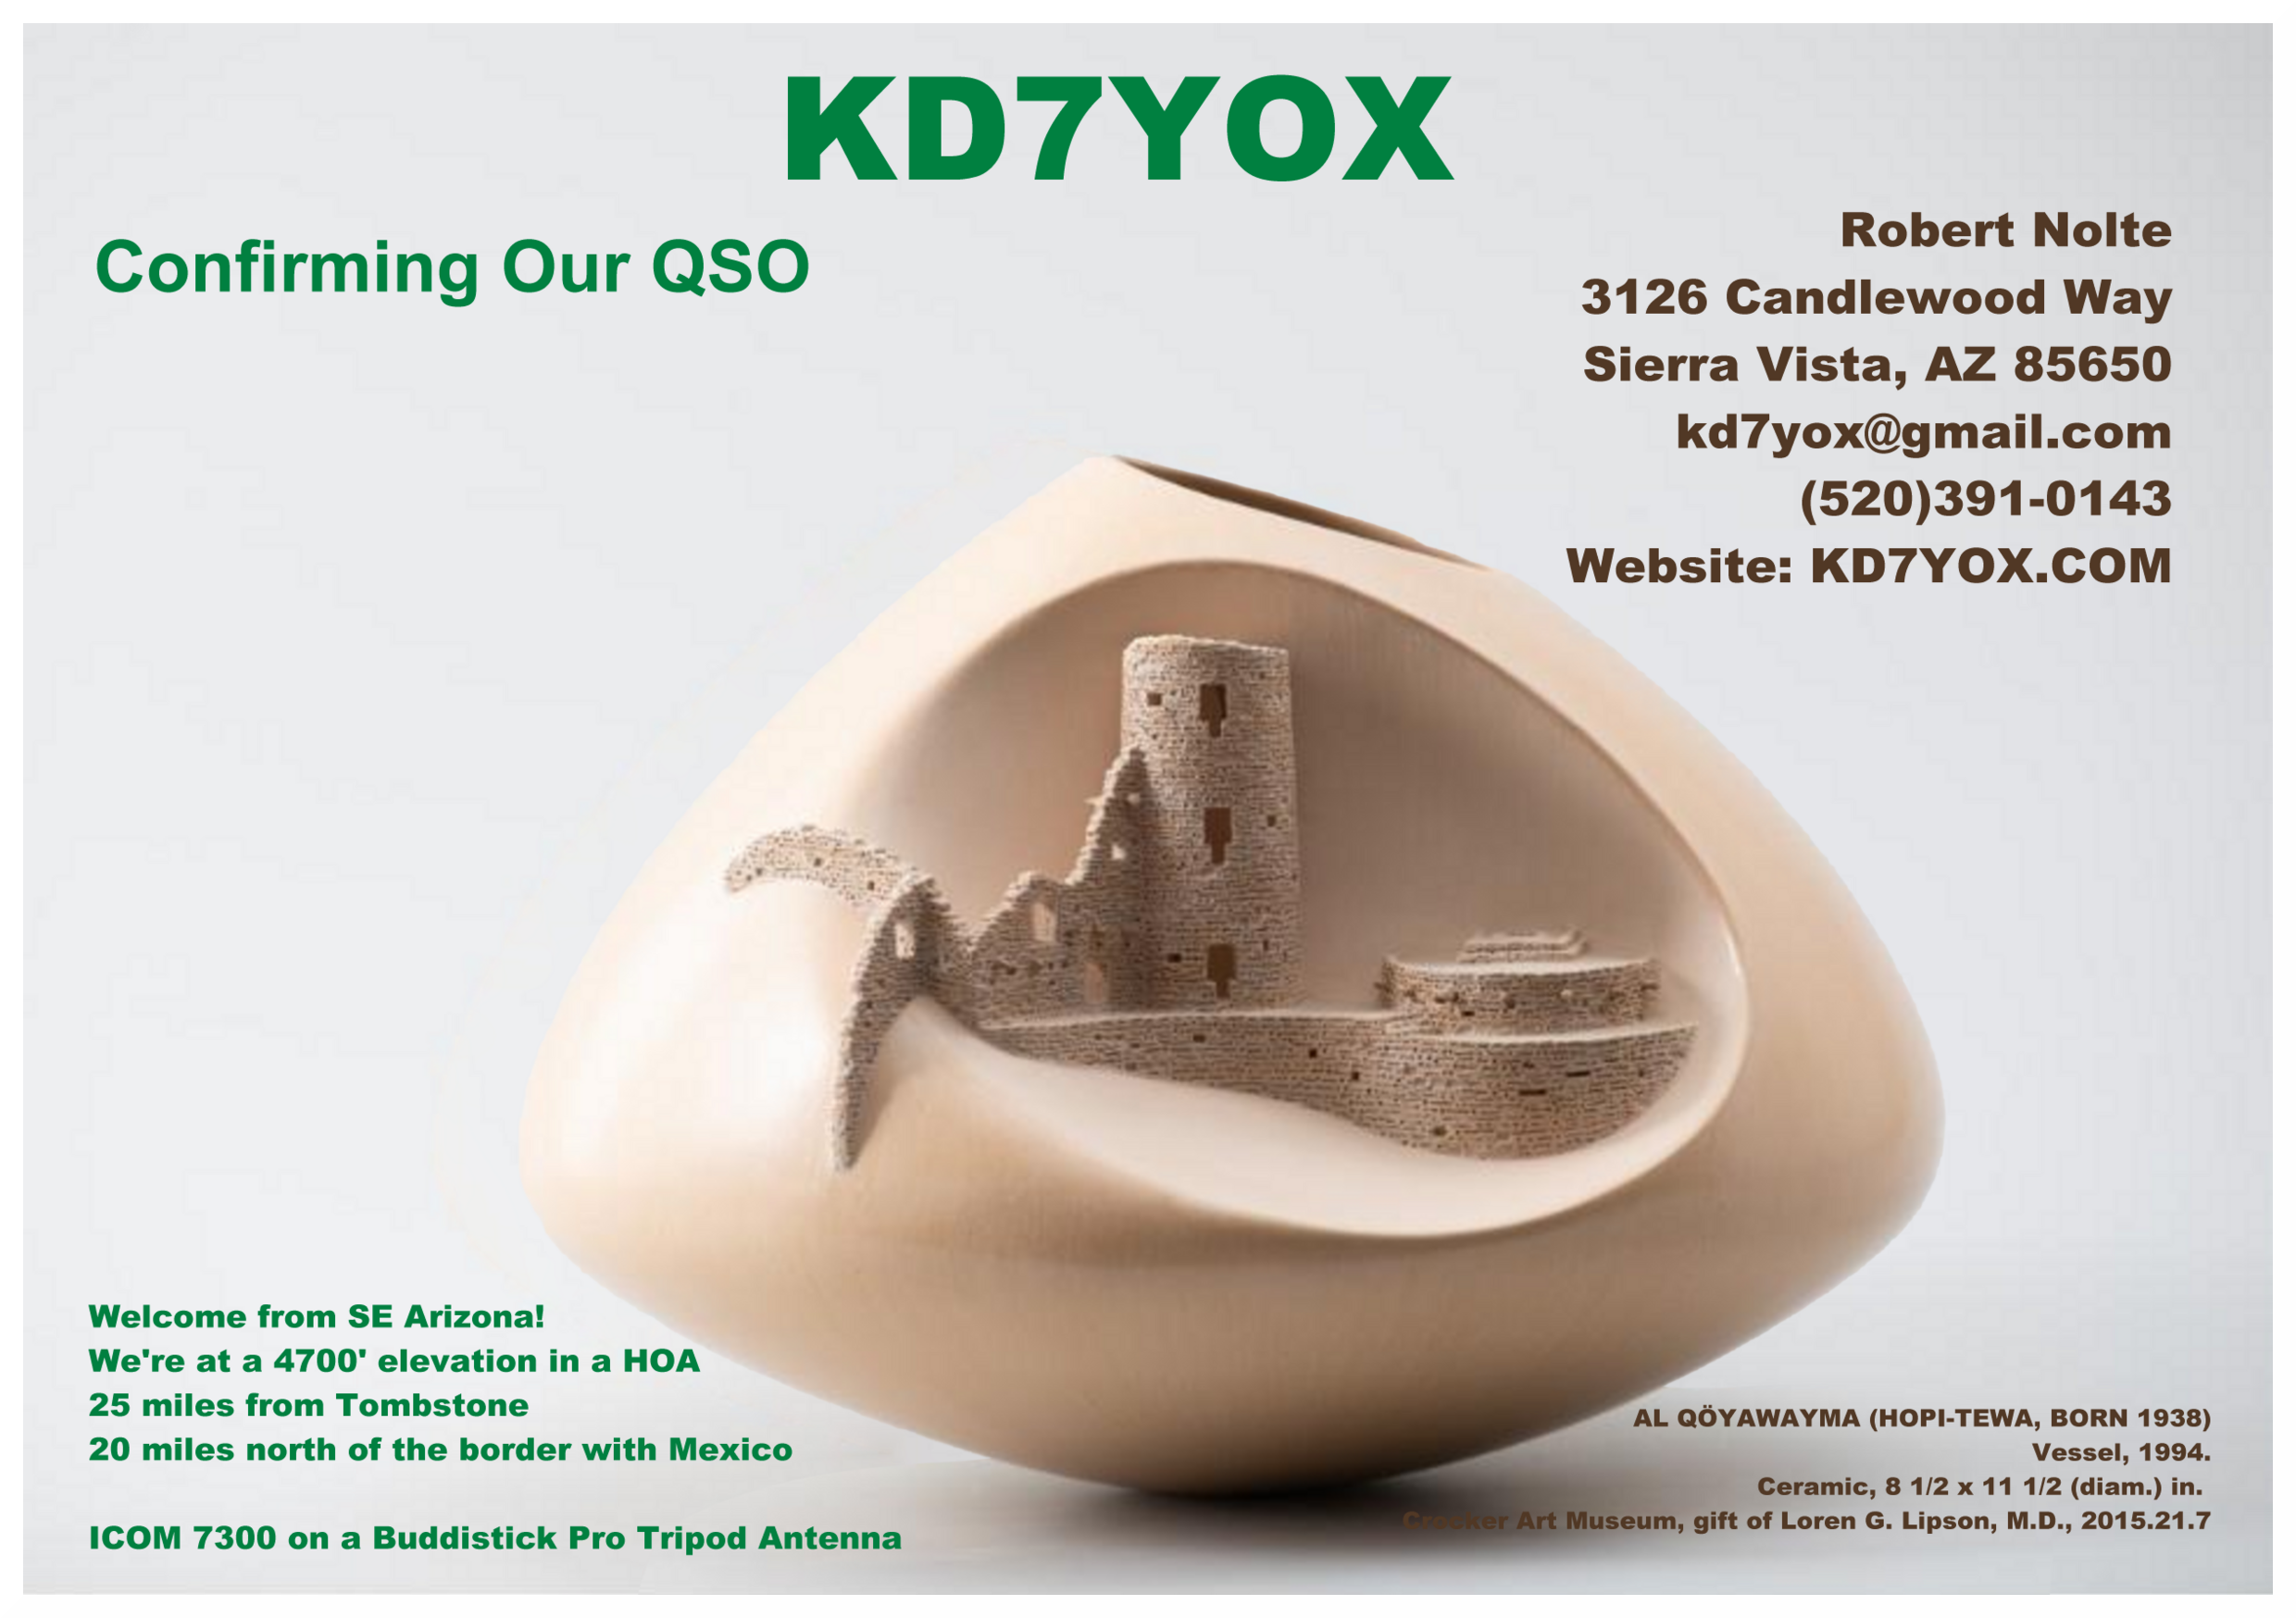
I use the Imagemagick app, which is free and open-source, to write the qso data onto a new version of the card which is specific to this qso. The data comes from the WSJTx.log file. This image is saved with the date and callsign of this qso in its filename. Here is a sample:
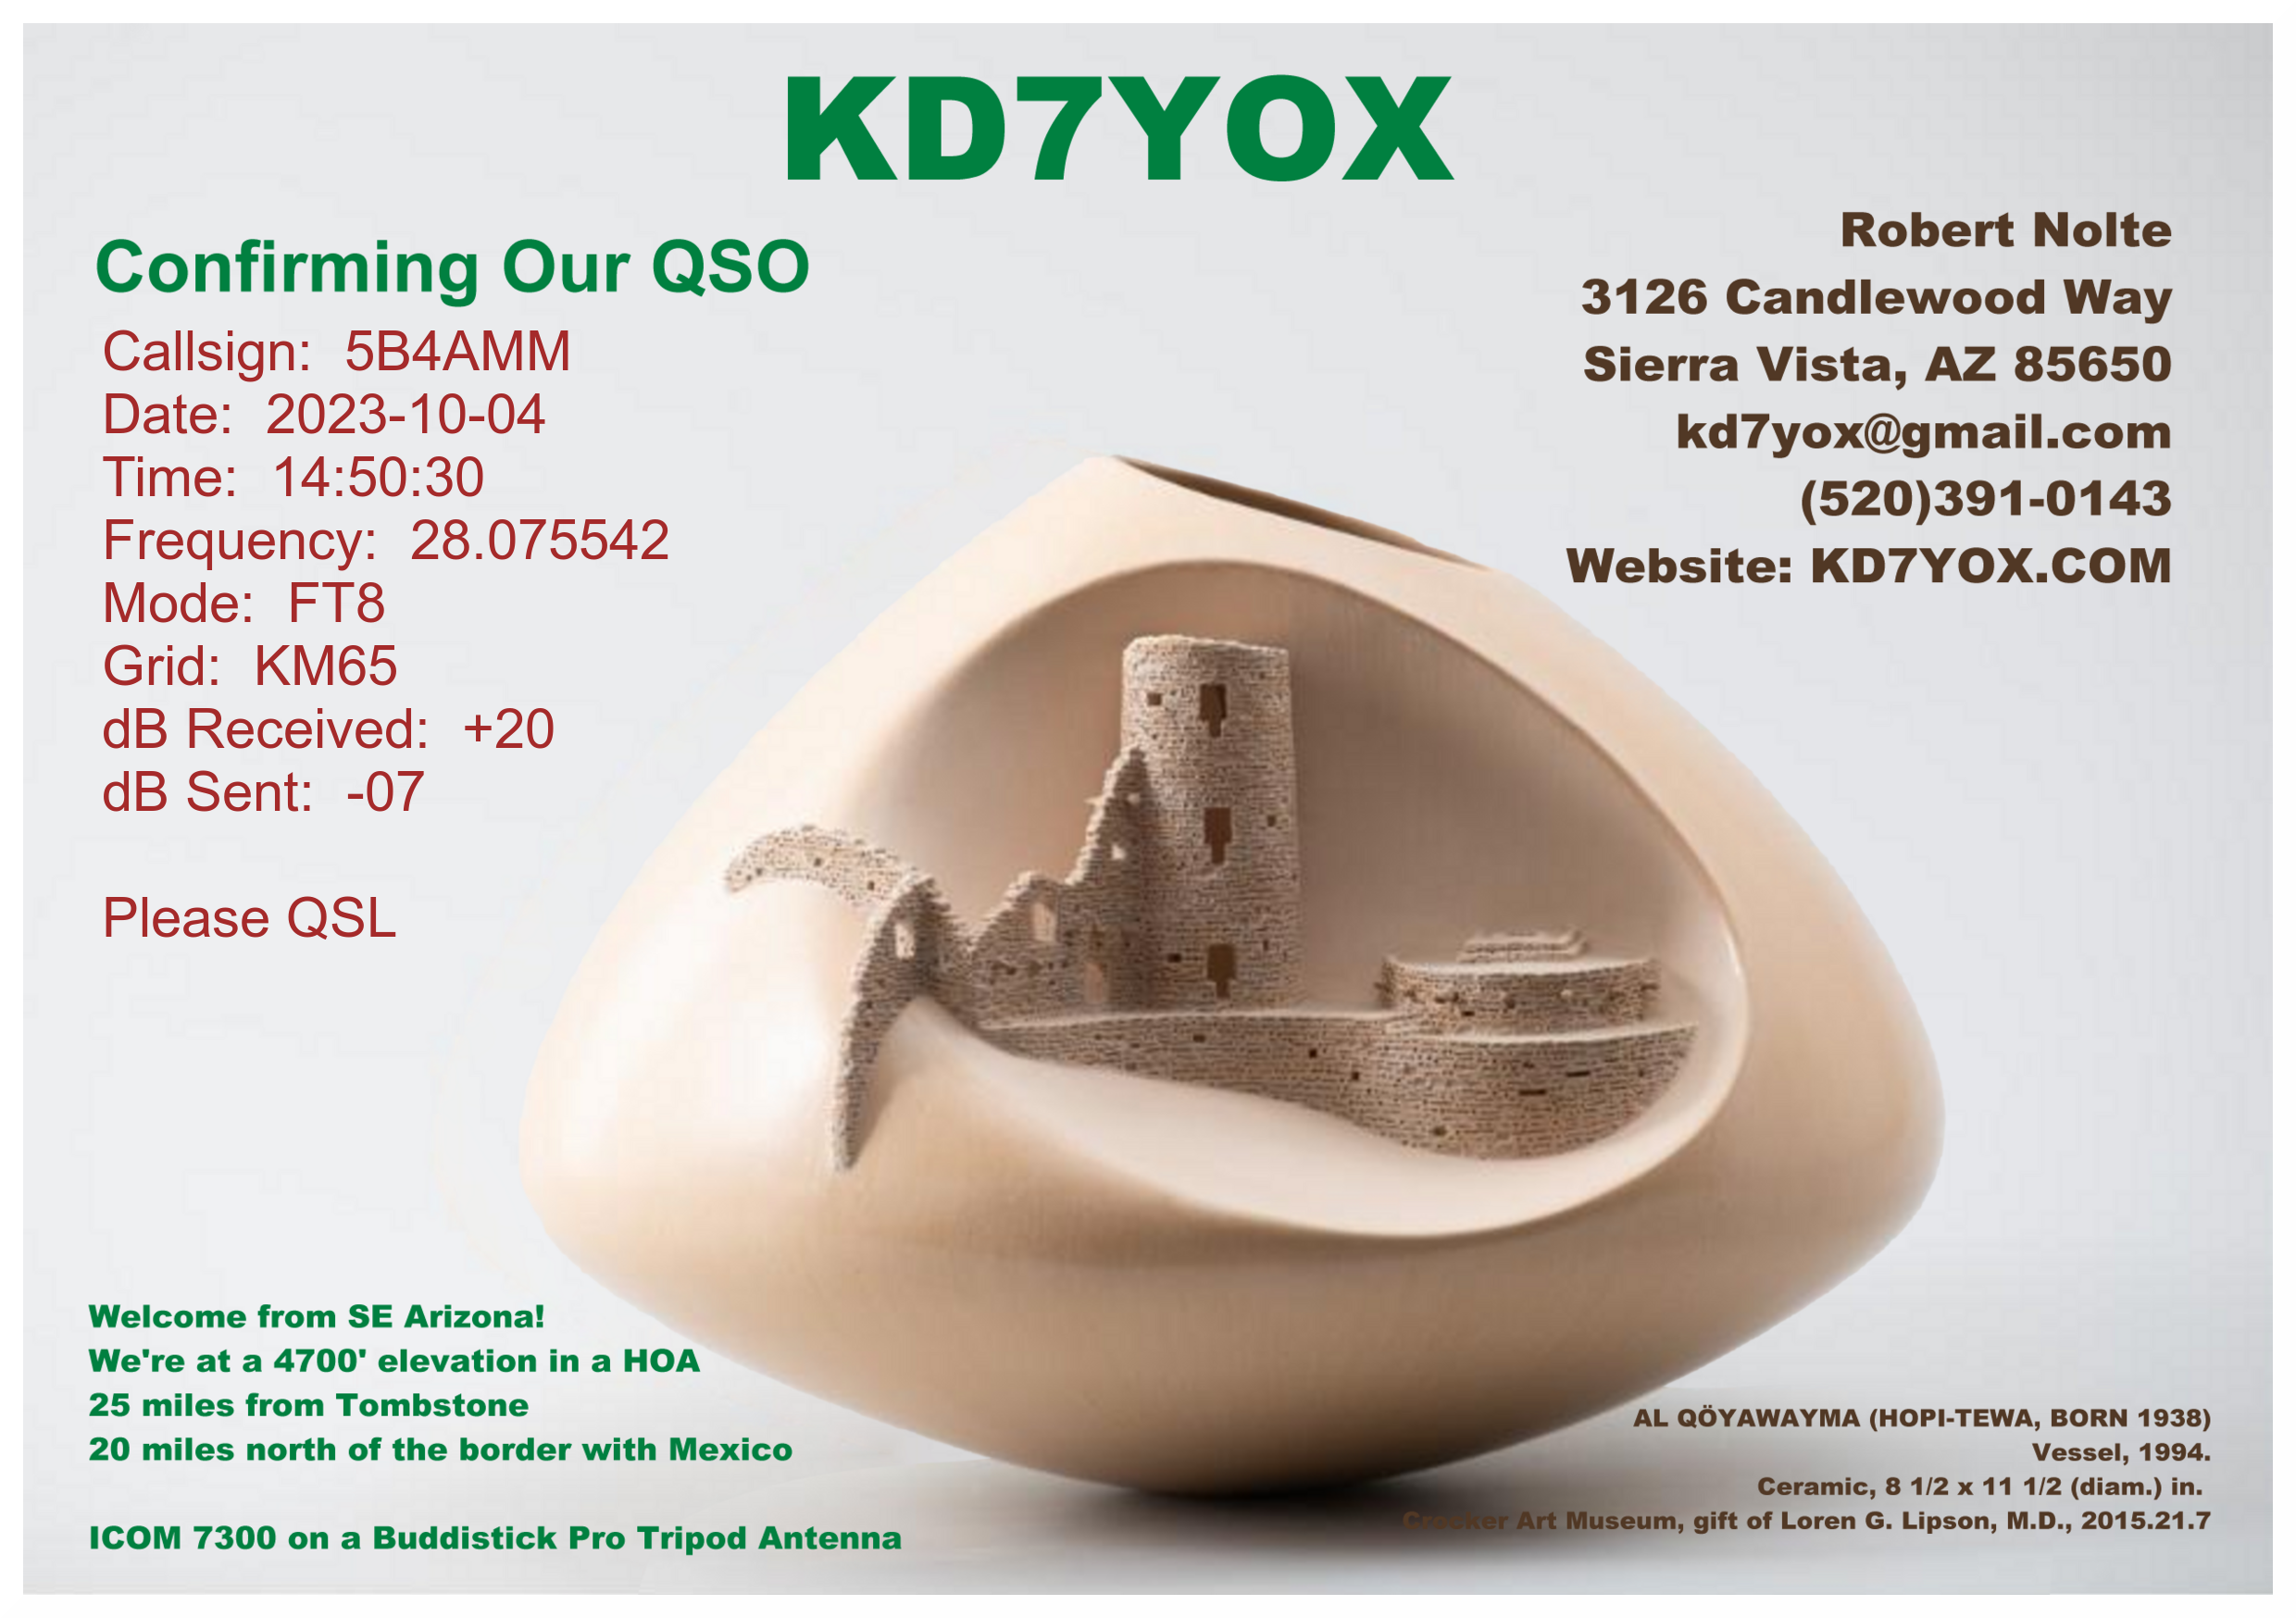
convert QSL-MASTER.png -density 144 -pointsize 30 -font arial -strokewidth 10 -fill brown -annotate +110+400 "Callsign: "$call'\n'"Date: "$qdate'\n'"Time: "$qtime'\n'"Frequency: "$freq'\n'"Mode: "$mode'\n' "Grid: "$grid'\n'"dB Received: "$rec'\n'"dB Sent: "$sent'\n\n'"Please QSL" "/home/bob/Desktop/QSLs/QSL-$qdate-$qtime-"$call".png"
Fields preceded by a $sign represent the actual data from wsjtx.log to be placed on the card. The -annotate option specifies the horizontal and vertical position for the text to begin printing. \n creates a new line. Bash script available upon request.
PRINTING AND MAILING
I use MyPostCard located in Berlin, Germany, to print and mail each QSL card. I just give them the .jpg made by the computer. This prevents my having to buy a bunch of pre-printed cards and includes postage. I typically send out the card when I finish the QSO. Then I have no further work to do.
Format of PNG file for MyPostcard
Width=2480 pixels
Height=1748 pixels
25 pixel white border on all four sides